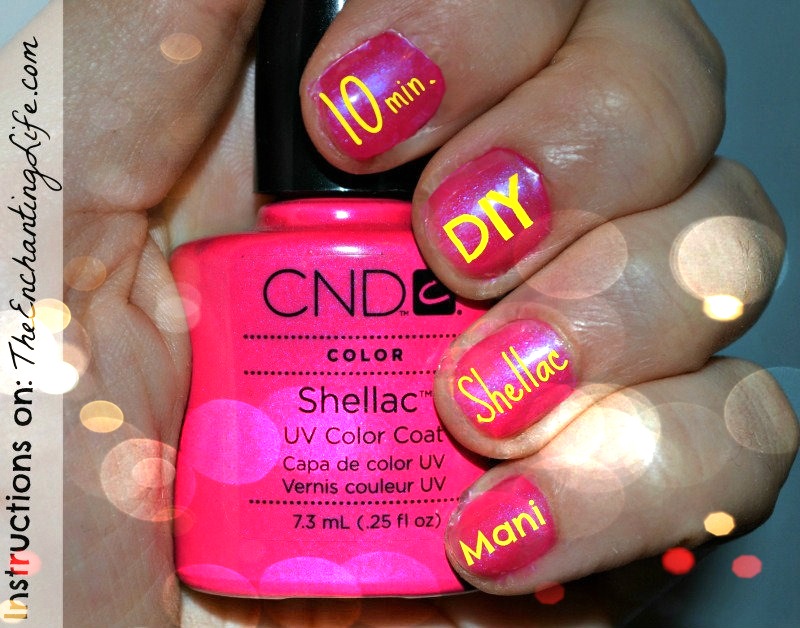
One of my favorite (and most unique) gifts I have ever received was my shellac manicure set from my mother- and sister-in-law. If you have been living under a rock and still haven’t heard of shellac, it’s a fairly new process which uses a gel polish that is cured using UV lamps and is referred to as “the no-chip manicure” because it can last for weeks without chipping! Most salons have adopted the shellac process and many now offer it for your tippy toes too (which can last MONTHS). Here is an easy tutorial on how you can achieve your own DIY Shellac Manicure in under 10 minutes and save a boatload after just one use.
Yes, it is a little pricey to buy the initial supplies (mainly the UV lamp) but after paying your tip, you are likely spending around $50 for a manicure at the salon anyways so it actually pays for itself in just a couple uses. Also, you save time by doing it yourself and are not exposed to so many toxic chemicals and fumes.
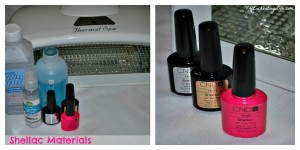 You will need:
1. Shellac Base and Top Coat (Set of 2 $30 on Amazon)
2. Shellac Color of Your Choice (I used Tutti Frutti, $15 on Amazon) You can also use regular nail polish that will last about 1 1/2 weeks.
3. Nail Surface Sanitizer (ScrubFresh $13 on Amazon)
4. UV Lamp ($53 on Amazon)
5. Rubbing Alcohol ($2 at drugstore)
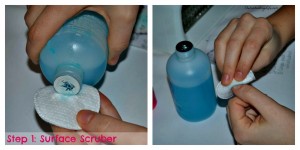
Step 1: Use a nail sanitizer (I used ScrubFresh) to removes all impurities, oils, and lightly buffs the surface so the polish attaches easily.
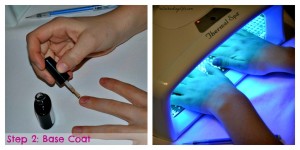
Step 2: Apply a thin layer of your base coat then place hands in UV Dryer for 10 seconds.
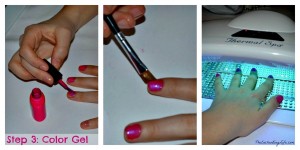
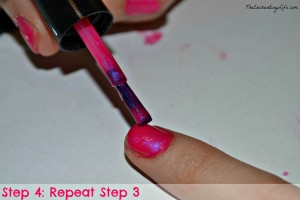
Step 3: Apply a thin layer of your color gel. It’s important to try and remove as much excess from the sides otherwise when it hardens it will create bulges on the side which may peel up and ruin your manicure. Once you fix the edges,place nails in dryer for 2 minutes.
Step 4: Repeat Step 3
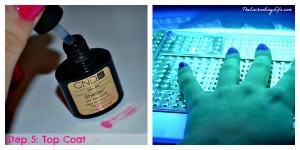
Step 5: Apply a thin layer of your top coat then cure hands for 2 minutes.
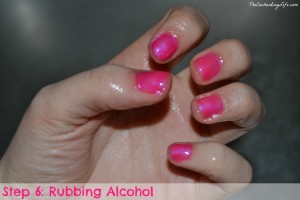
Step 6: Spray rubbing alcohol on fingers then rub off with cotton ball, this will remove any excess product and set the nails. Voila! Your nails are already hardened and you are set to go! When finished, if you notice you still have paint on your cuticles (like you can see I did), it will pull off but use something like a nail file to stop it from peeling off the layer on the nail.
Rosie and Ruby put the shellac to the test and it easily withstood their biting, scratching, and overall rough housing.
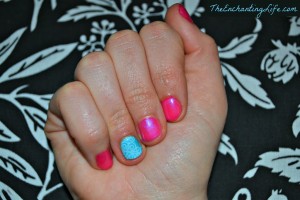
Here are my nails using the Incoco nail appliques from my March Birchbox. I just did my shellac nails as usual (leaving the two nails bare) then just before applying the topcoat I put the appliques on and completed steps 5 & 6 on all nails. The appliques never chipped or fell off and lasted as long as the rest of my manicure!

To remove: Shellac’s greatest advantage of being no-chip is also it’s greatest downfall. When your nails start to grow out or you’re tired of the color, it takes some TLC to get the polish off. I recommend soaking cotton balls in nail polish remover and leaving one on each nail for several minutes before wiping off.
Have you ever had a shellac manicure before?
Let me know what you think about my DIY version,


I have found you through the Lauren Conrad website, and I love your blog. Would you like to follow each other. Just leave a comment to let me know.
My Fashion blog: I’m A Love Addict
ENTER>>>Dress and make-up goodies Giveaway<<<
Thanks for the post. I get here Very helpful information. Excellent blog right here! I was just searching for this information for a while.There is obviously a lot to know about this. I think you made some good points in Features also. I have been using latest collection of Shellac polish and I really satisfied.
Regards,
Jane
I bought all the items you listed, read the instructions 3 time and did exactly what you said. 20 minutes later my nails are still sticky. I even did an extra 2 minutes under the UV lamp. The only thing I can think of that I might have done wrong is apply the product too think but I did it as thin as I could. Any ideas? I hope it eventually dries!
I just watched a youtube video that was talking about a shellac manicure kit. She said to shake the base coat well before applying. Could that have made a difference?
Oh no! I’ve never had that happen, they should come out dry and hard as a rock! Did you make sure you used the base coat first and then apply 2 coats of color and the top coat last? If you did top coat first or base coat last I could see how they would be sticky. Also, did you cure the nails after each coat (each hand sure cure 4 times total)? Also, did you spray the rubbing alcohol on the nails after you were done then wipe off with a paper towel, this is supposed to take of any excess residue.
Something’s gotta be off so I hope I helped you find the missing link, if not let me know and I’ll think of some more options. I pull up this post each time I do my nails so I know the instructions are right and work for me every time!
Keep me updated,
Natalie
Well I always shake mine (just out of habit when I paint my nails) so I guess it’s possible that could make a difference. I almost wonder if you were sent expired shellac polish or something, I can’t see how else you would end up with wet nails. And you did use rubbing alcohol on them after? Mine are slightly sticky until I use the rubbing alcohol to get rid of the residue.
I had that happen and it was just bad product. I bought a sally Hansen product and that has worked great.
I used your tutorial to make my Xmas list and got the lamp, scrub, base & top coat and one color(mint convertible)! Tried it all out for the first time tonight and it all worked great. Just like at the salon! I’ve already ordered two more colors(asphalt & dessert poppy).
Hi Monica,
I’m so glad to hear you enjoyed the tutorial! Isn’t it a great feeling to save all that money and DIY your nails and still have that salon quality – plus you don’t have to have to deal with all the smelly chemicals or high prices 🙂 I’m going to have to try the “mint convertible” – great color for spring/summer! My favorite color so far is “masquerade” it’s a deep red and looks so expensive!
Thanks for stopping by,
Natalie